Mar 03, 2022 08:10 PM
Hello!
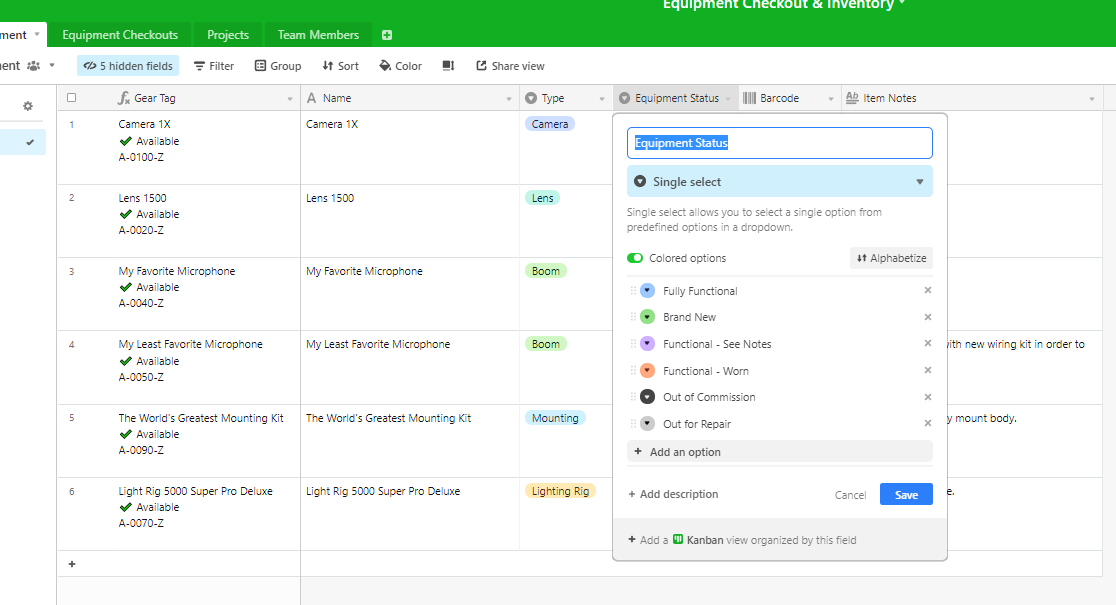
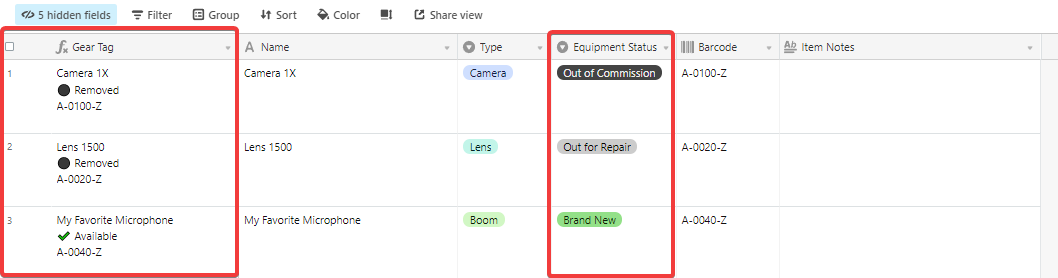
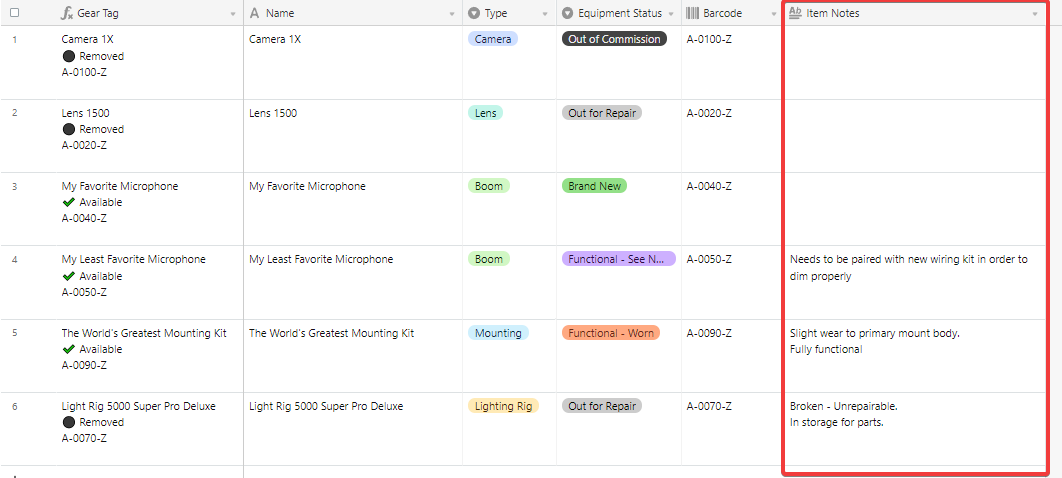
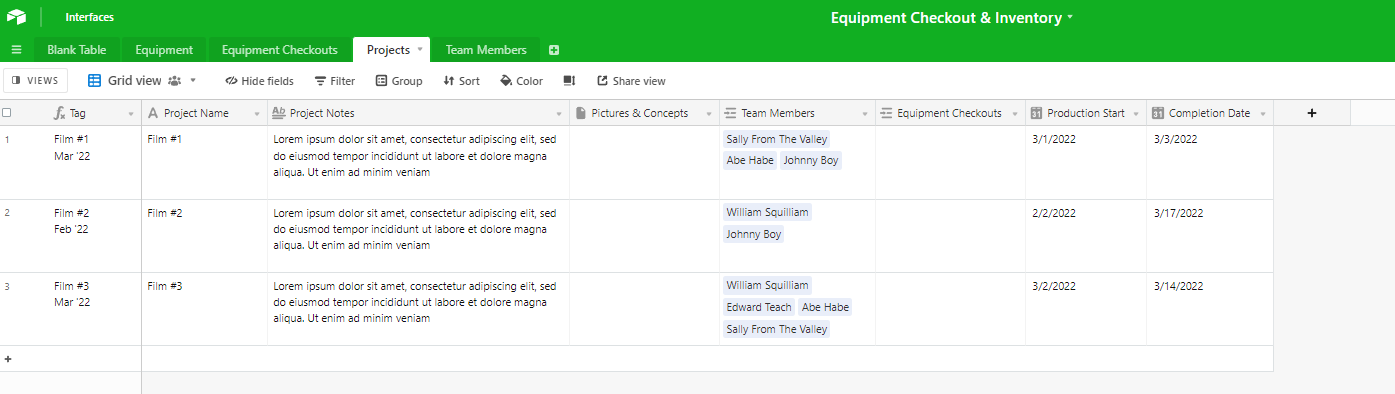
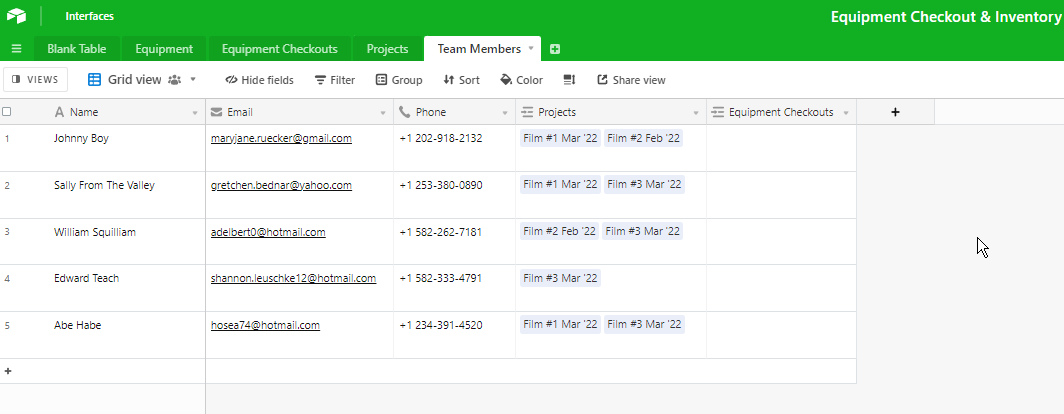
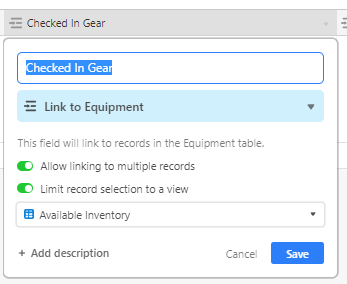
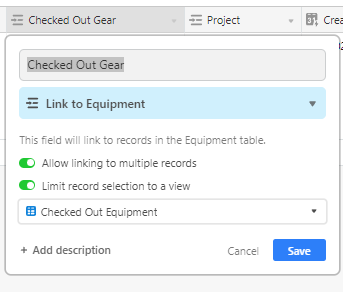
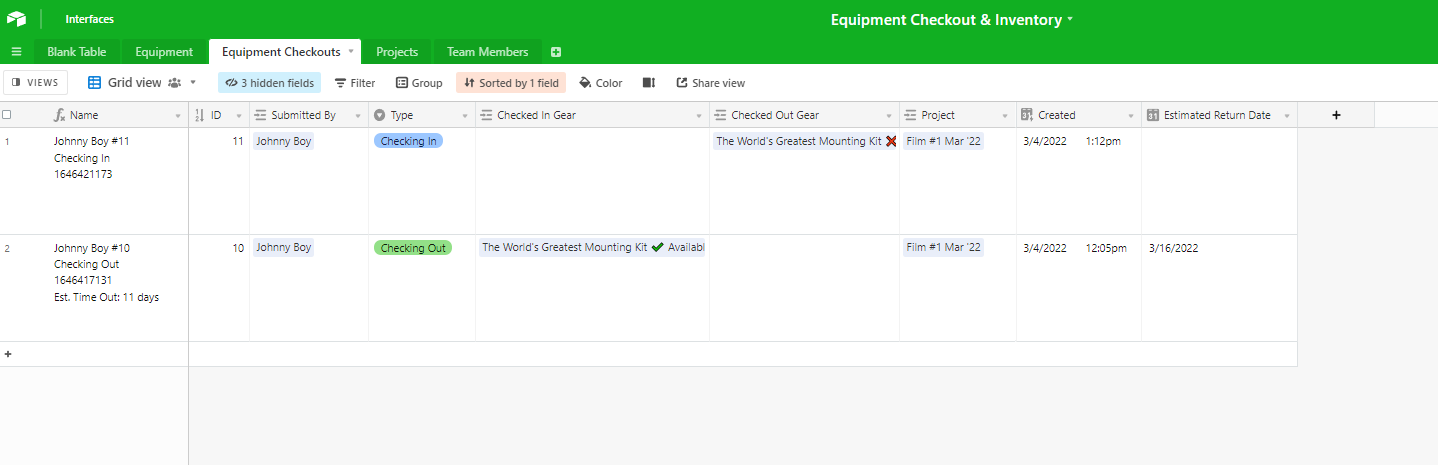
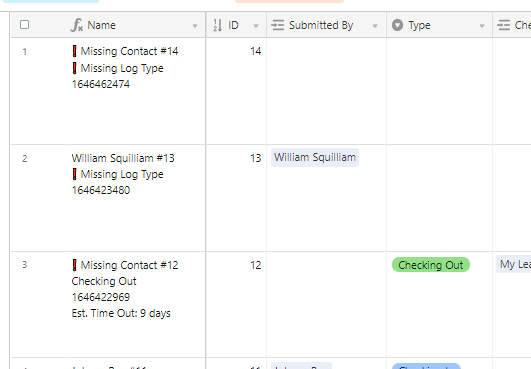
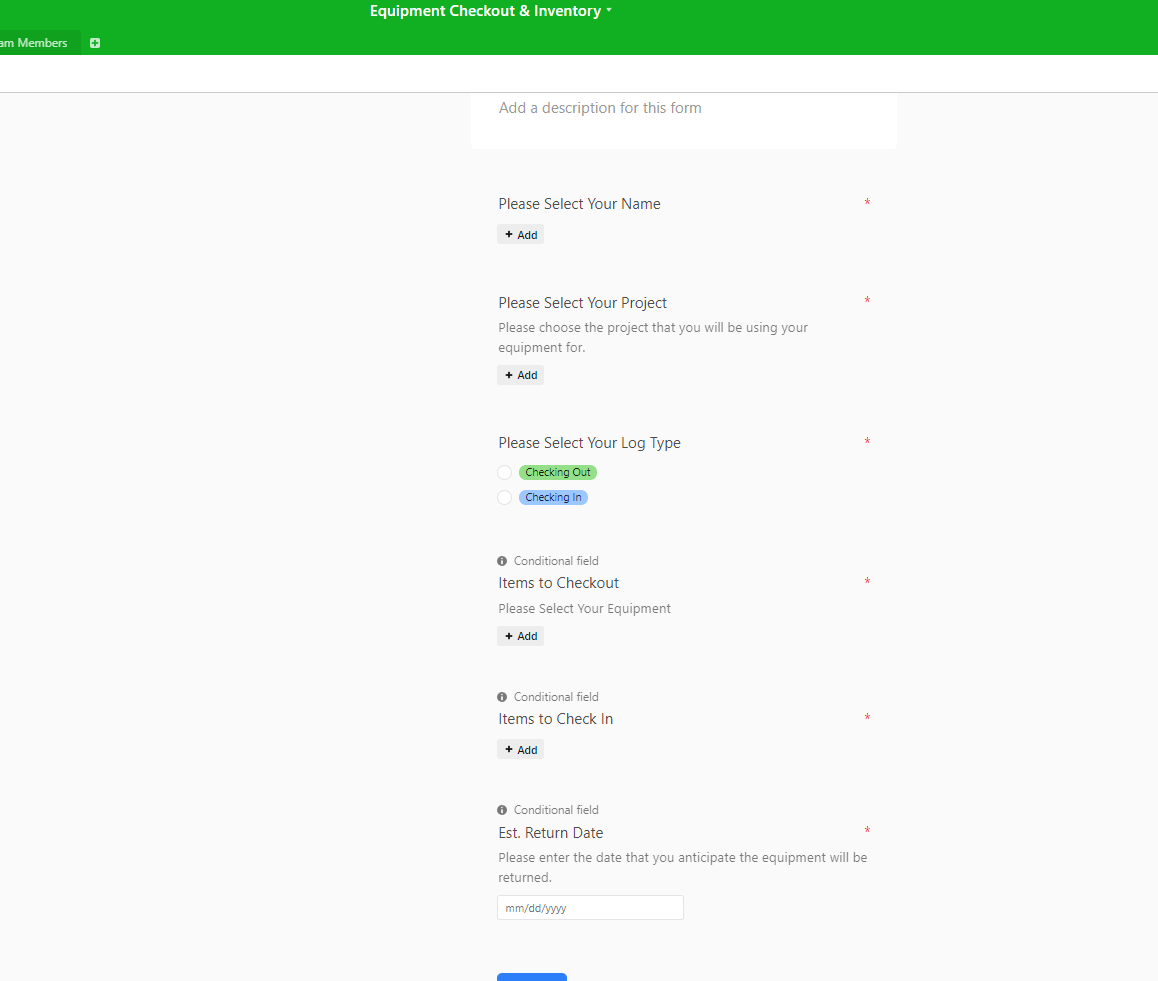
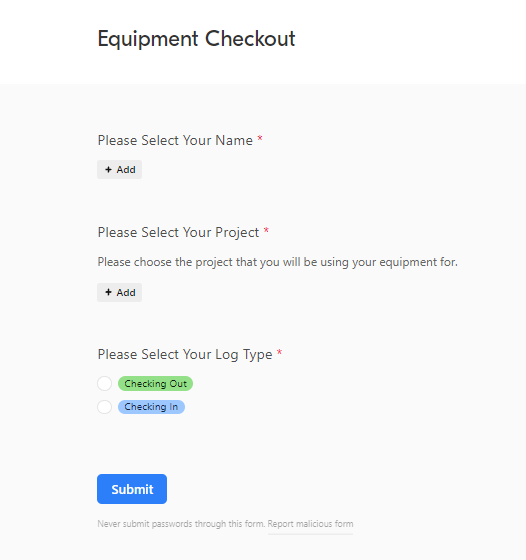
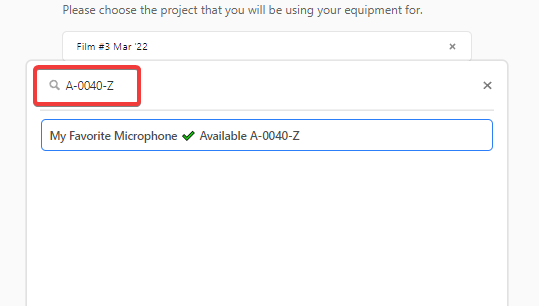
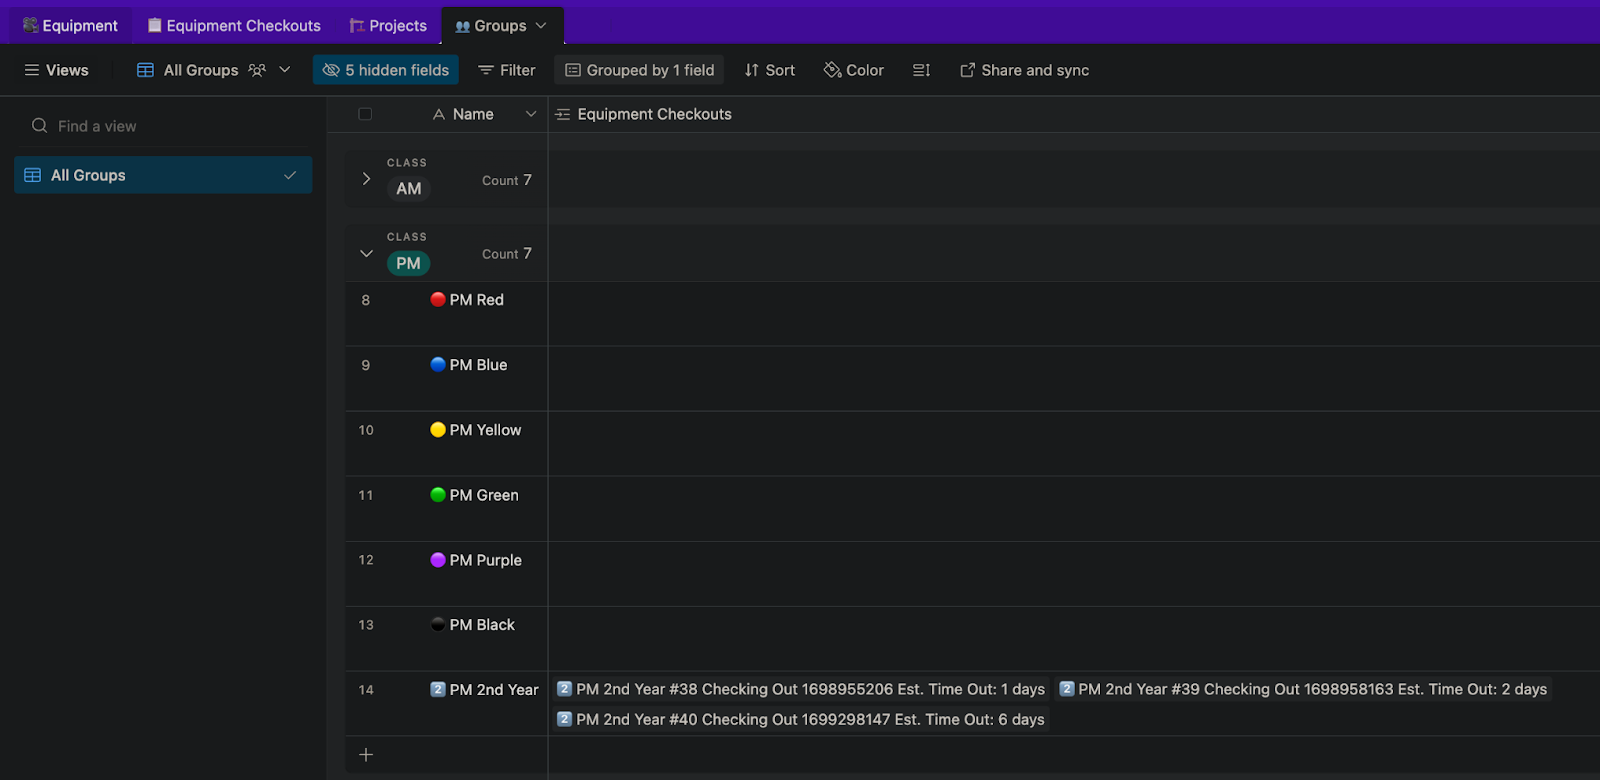
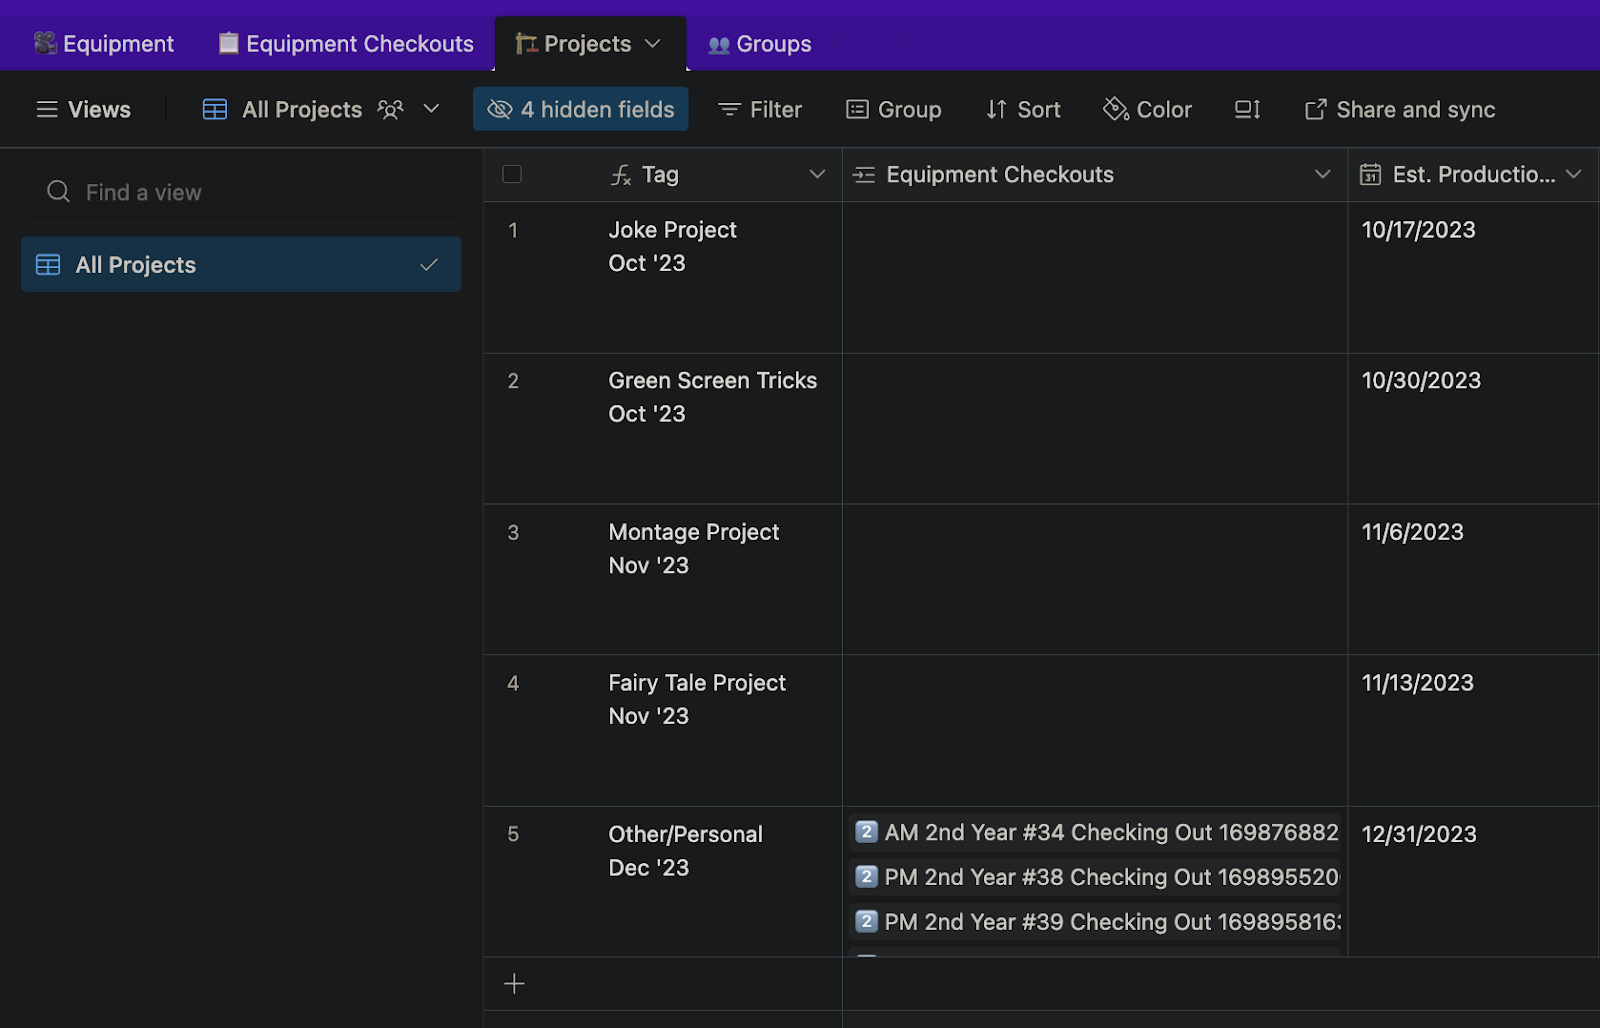
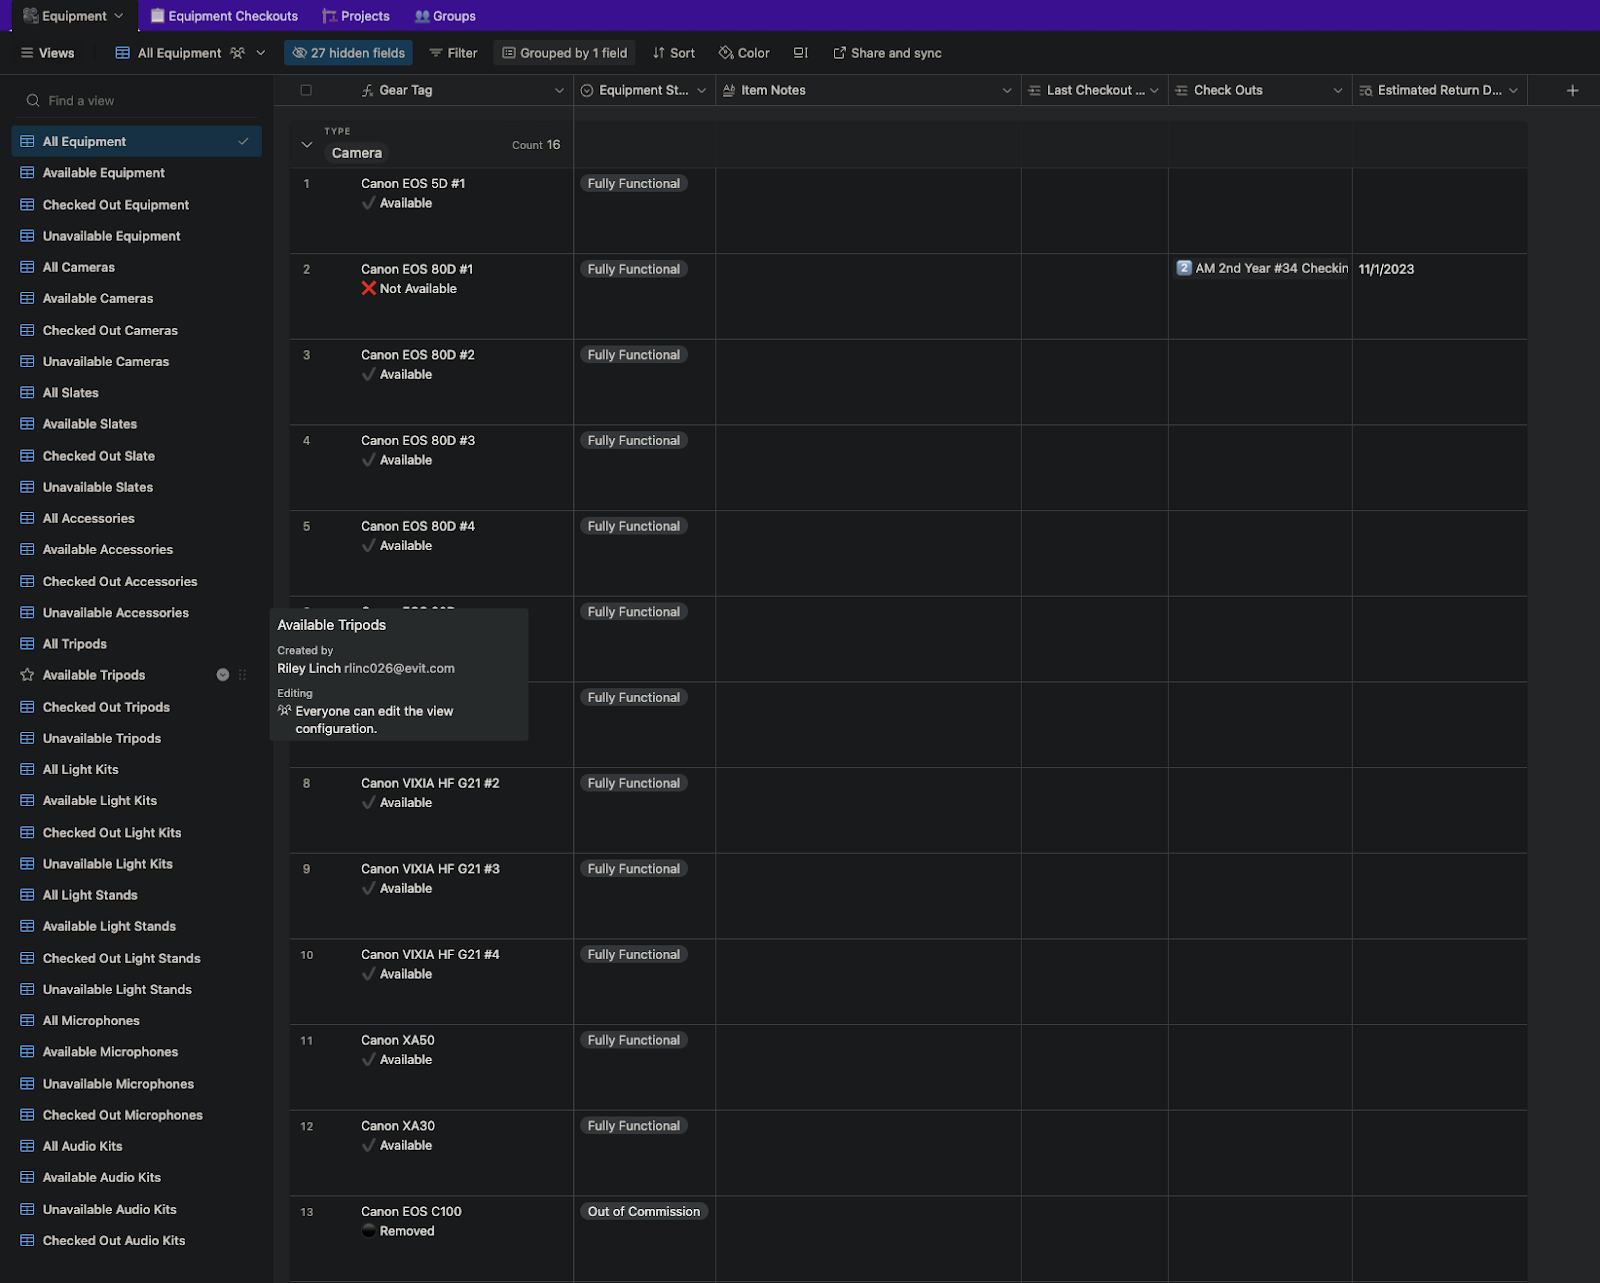
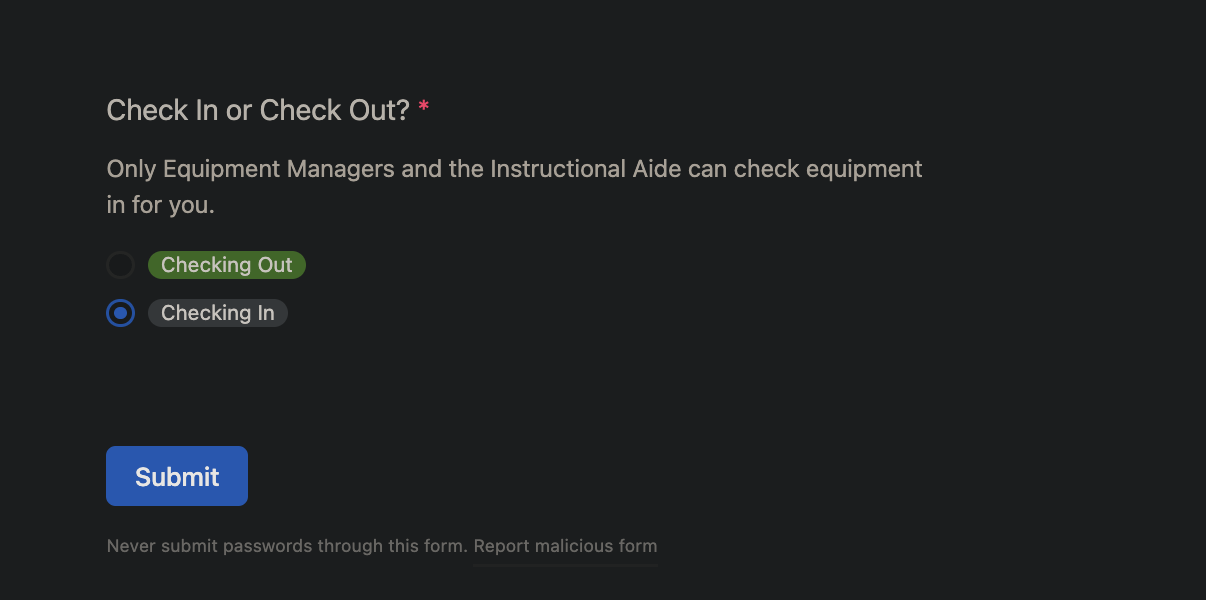
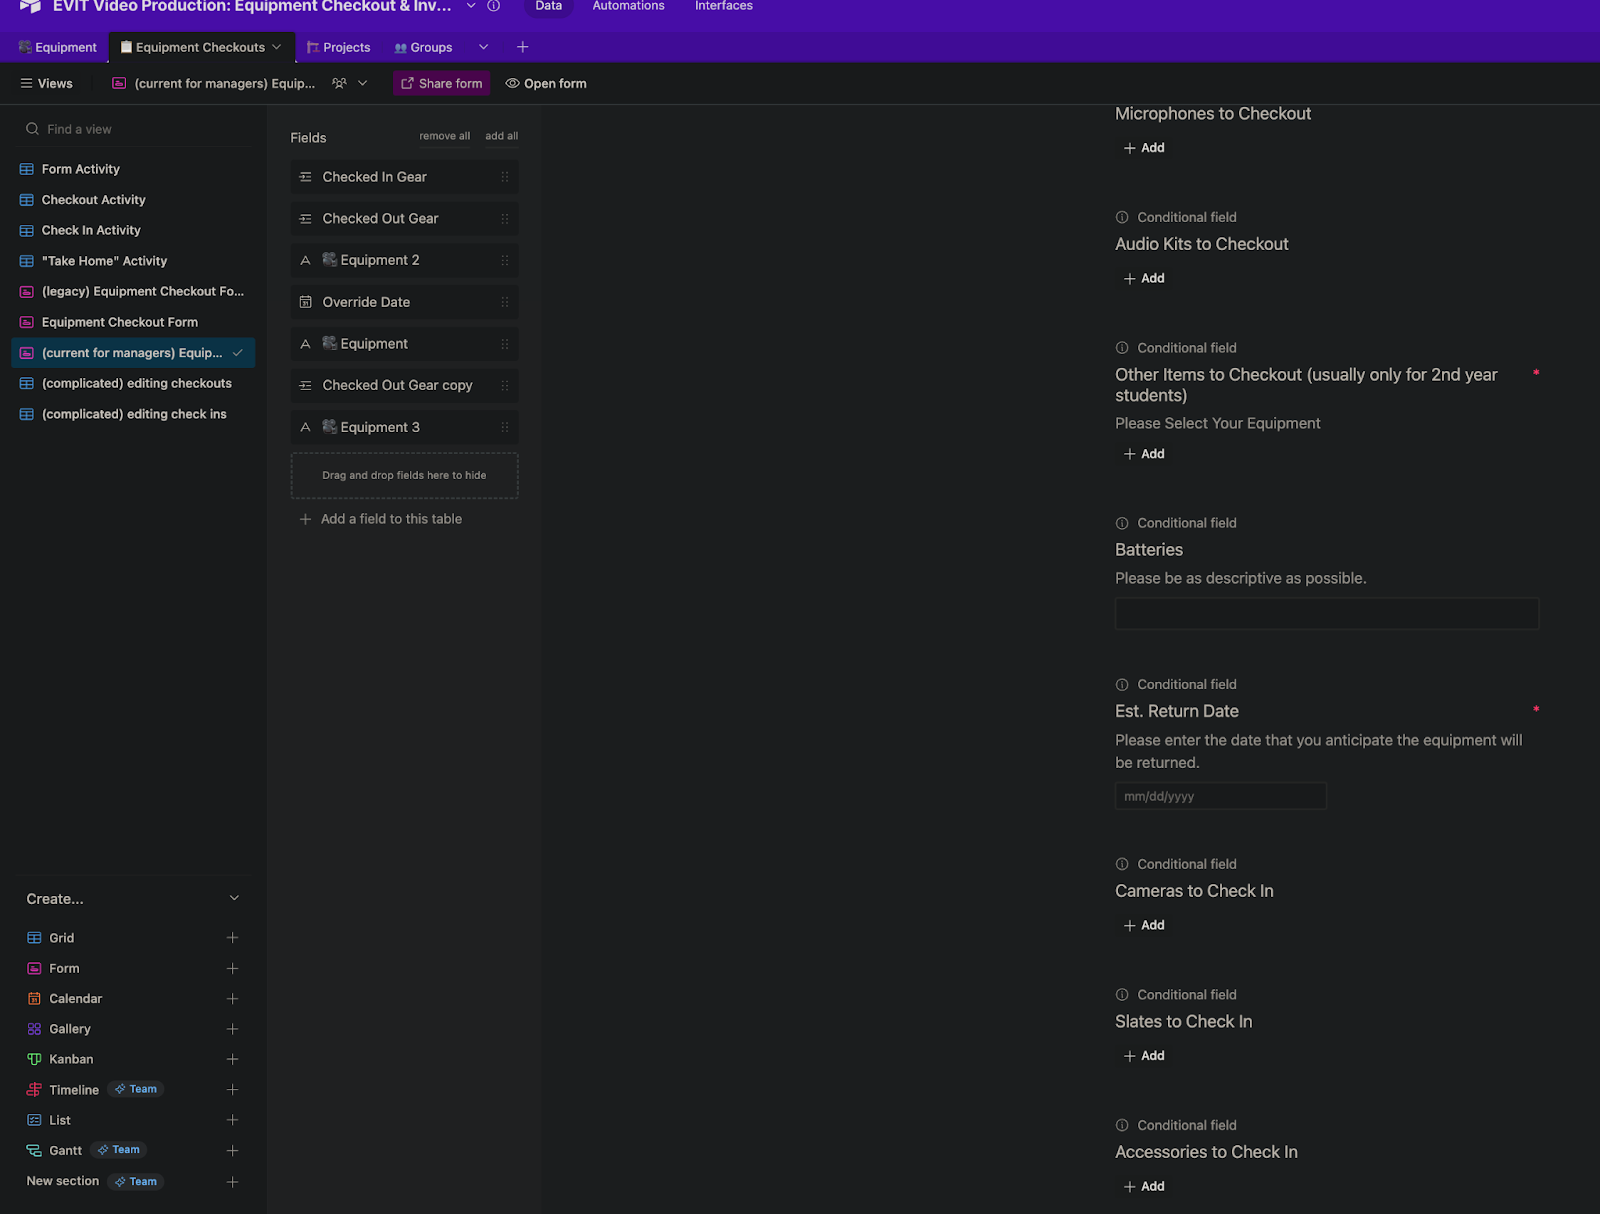
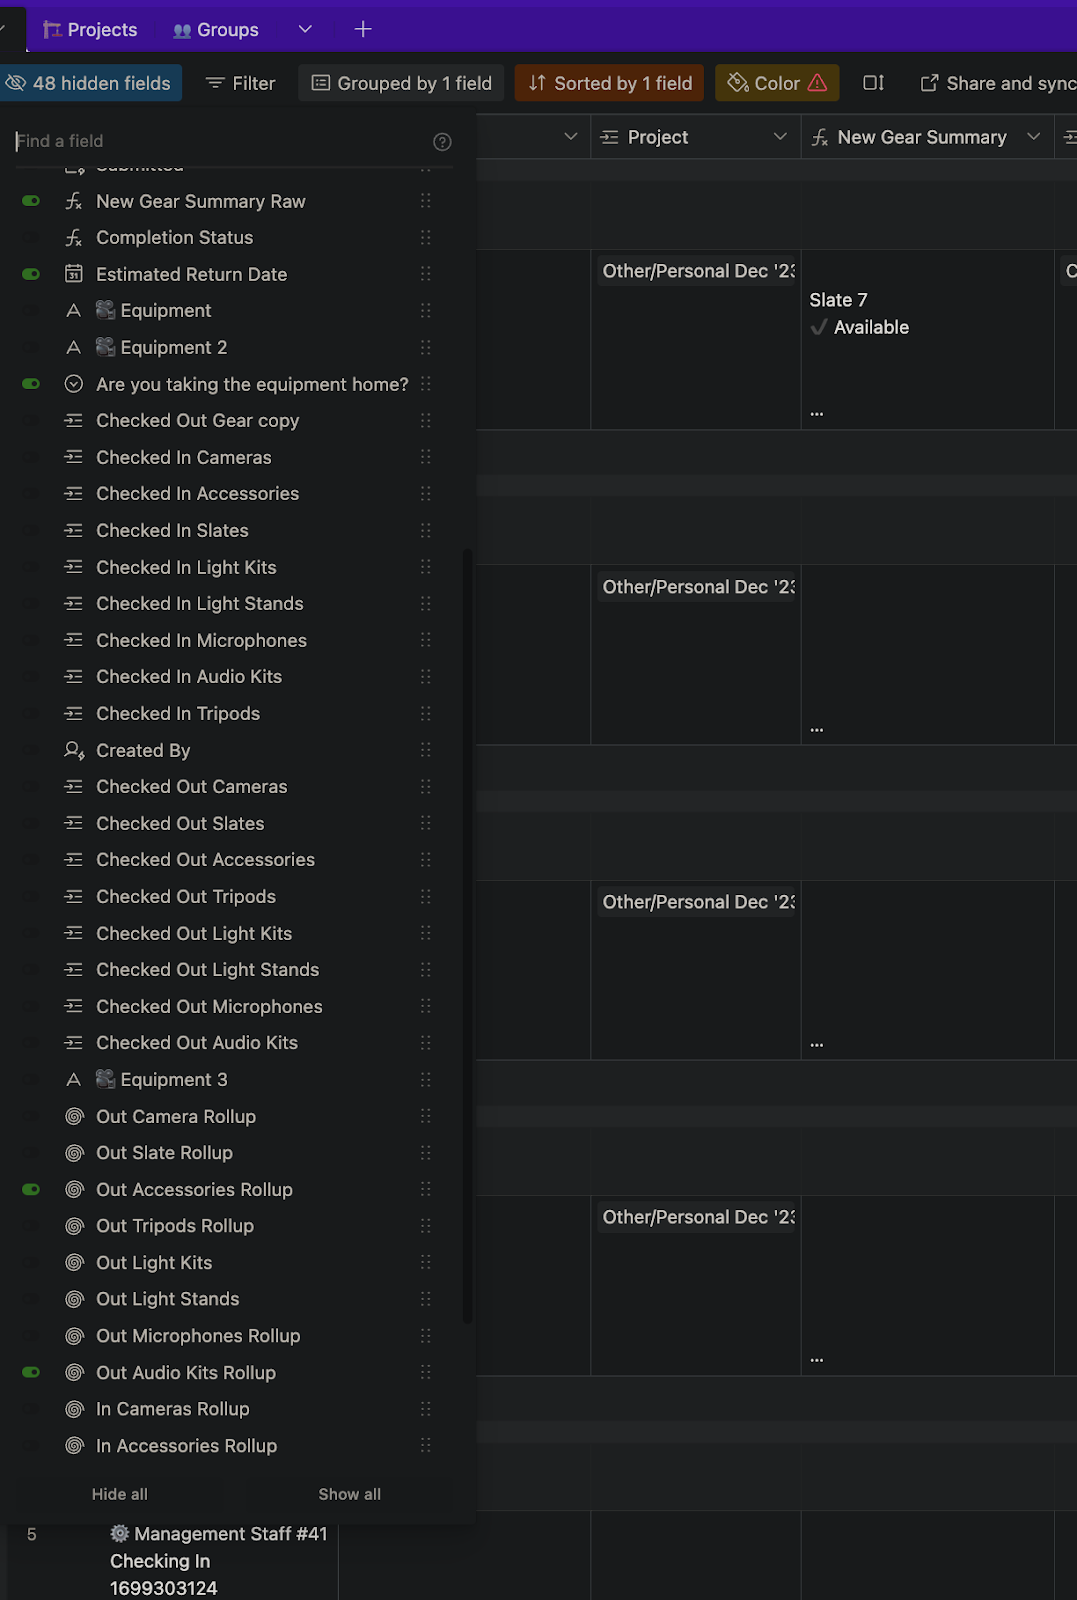
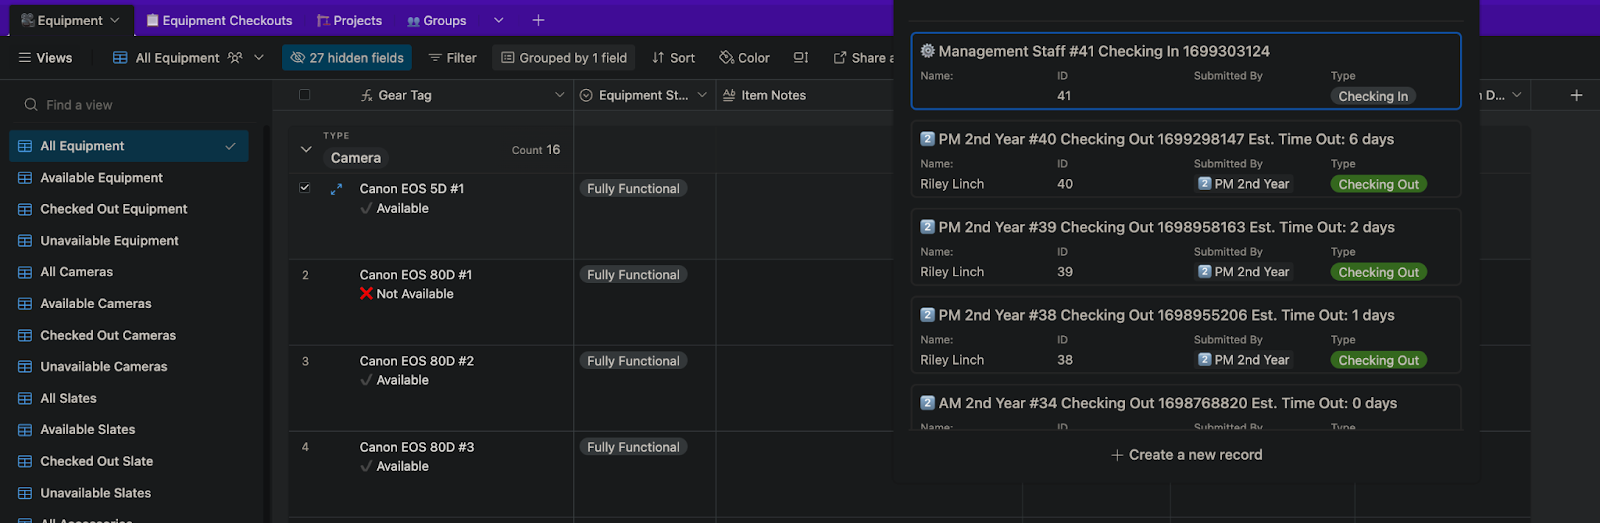
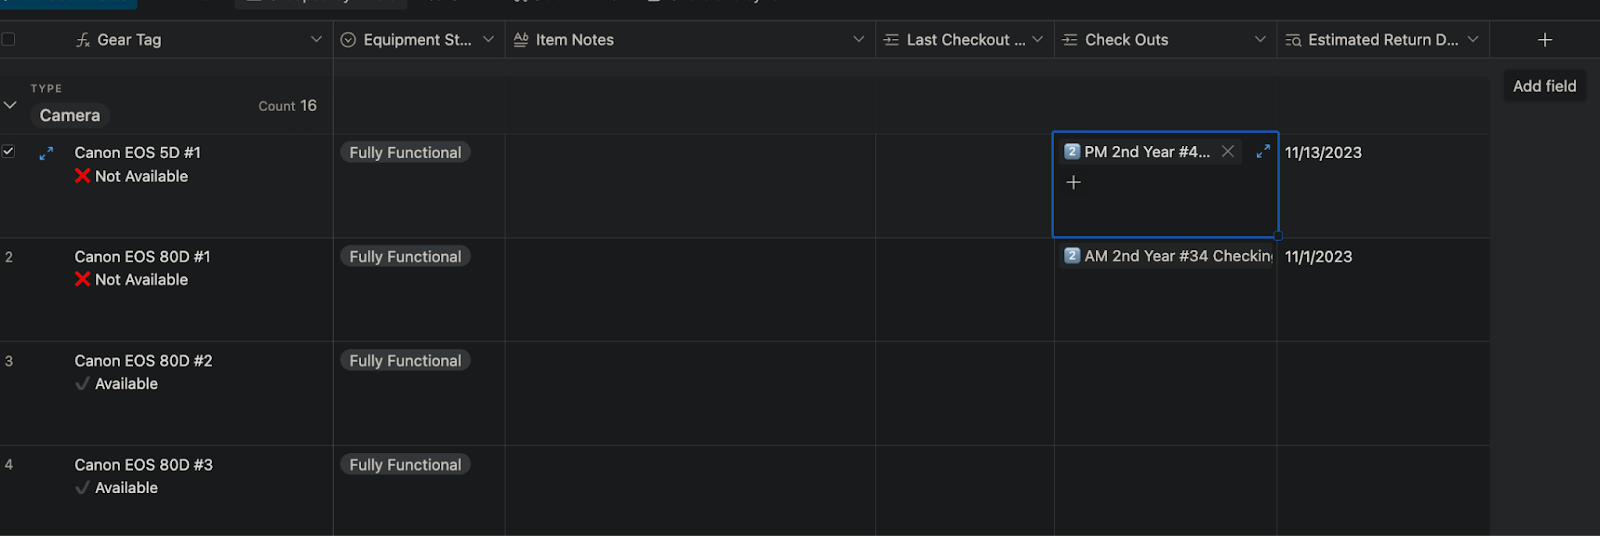
We have a small video production studio that has enough people to need a better solution to check out equipment. We set up a table with all of our inventory and a separate table that has all of our tasks. In the task table, we set up an equipment checkout form that allows has all the equipment categorized and available to check out. It’s the best solution that we have found so far but I feel like there has to be a better way. Currently, since the form is simply linking each item in the inventory table, they all show up as individual options, so we have to click the drop down box every, scroll, and select what we need instead every time we want to add an item in the same category. A checkbox-style set up like in a multiple select field would be the most ideal.
We have a label maker that can print out barcodes readable by airtable, so what if I can somehow set up a form/table/view that we can keep open in the equipment room and use a barcode scanner (we’re looking at the Tera Barcode Scanner at the moment) to scan multiple items at once, then input your name, the date you’ll need the equipment for, and have that information link back to the existing inventory and tasks tables.
Does that make sense? Is this doable? Is there another way that we can get around this?
Mar 04, 2022 12:13 AM
Hey @UTD_Photo! Welcome in!
I’ve been working on a solution to your post for a few hours now.
I have a sandbox base that I’ve been doing this work in and am currently doing a write-up on it all, as well as a walkthrough of how it works.
I just wanted to let you know that I’m working on this if you don’t get another reply in this thread.
I didn’t want you to think that you were out in the dark on this one! :winking_face:
Mar 04, 2022 09:35 PM
Thank you so much for taking the time to help! I can’t wait to see what you’ve been able to come up with!
Mar 05, 2022 01:14 AM
Okay, this is an interesting use case. Definitely excited to think about this problem.
From what I understand from your post, here’s my consolidated understanding:
I have a few ways I might think about creating a solution with everything I’ve gathered.
Please let me know if there’s any context I’m missing or if there’s something I’m just critically misunderstanding.
I write out my posts as I’m building solutions in a sandbox, so I apologize if it gets a bit disjointed.
I also spent like the past two days thinking about and experimenting with this, so there might be portions that I may post clarifications on or revise to make up for any disconnects.
Please do not hesitate to ask me for more info on a portion, toss me theoreticals, or any other question or curiosity you might have about the rabbit hole I’ve written below.
Here is the demo base that I built for this post.
I encourage you to open it and copy the base to your own workspace so you can see the full functionality and play around with it hands-on.
So, the first thing that hit me when thinking about your use case was your base design.
You have the two tables for equipment and projects (tasks), respectively.
However, what is missing is a middle ground between the two.
See, the key here is that you’re trying to track equipment checkouts. But from what you described in your post, it seems that you’re trying to track checkouts in the void between the two tables.
The result is that there is no home for that data.
So what’re you looking for?
You’re looking for a junction.
Junction tables are somewhat weird at times, but this implementation is straightforward.
To put it simply… you’re missing a third table that has records for each recorded event of equipment checkout and when they’re eventually checked back in.
While the table for checkouts is the highlight here, I’ve actually built a fourth table, but we’ll talk about that below.
Let’s build!
The natural starting point is the equipment table. Each record is an individual piece of equipment that we want to track in our inventory.
Since each record corresponds to a given piece of equipment, each field should only contain data about that item.
Here’s what my sandbox table looks like.
There are a few important things in how I built this table.
The first is the Equipment Status single select field. Its configuration is shown below.
I tossed a few random options in there for the sake of examples.
You’ll notice two options called Out of Commission & Out for Repair.
While the other options are simple indicators of the item’s overall condition, the other two have an important use beyond just indicating their status.
In a situation where you have an item in your inventory but cannot be used, you may mark the item as unavailable using those options.
By selecting one of these, the status will automatically reflect that the item is removed from your inventory until the status is otherwise changed. This will also prevent anyone from checking out the item until further notice.
This is a great tool for preventing inaccurate checkout data for items that couldn’t be used anyways.
This also opens up a new use case that allows you to track data about your item’s condition, key details like serial numbers, warranty info, etc. The Item notes, shown in the next image down, show the basic functionality.
I decided to have the primary field be a formula, rather than either (1) a barcode field, or (2) a text field for the name of the piece of equipment.
The problem with doing one or the other is that you lose the ability to search for linked records using the other by using just one of those points of data.
For example:
Let’s say that the primary field is a barcode.
If you’re in another table trying to link a record to a piece of equipment, you will only be able to search using the barcode.
The problem is that it’s not feasible for a user to know the barcode value of each item they want to find.
The same is true on the flipside.
Only using the equipment name as your primary means not using a barcode to search for items.
The formula field combines the two pieces of information, allowing you to find gear using both the barcode and the name of the equipment.
Here is the raw formula I used in this field:
{Name} & "\n" &
IF(
OR(
{Equipment Status} = "Out of Commission",
{Equipment Status} = "Out for Repair"
),
"⚫ Removed",
SWITCH(
{Status},
"Checked In", "✔ Available",
"Checked Out", "❌ Not Available",
"✔ Available"
),
"❓ Unknown"
) & "\n" &
{Barcode}
The projects table I made is simple. It is also just populated with basic high-level data.
It contains the name of the project, the description, attachments, assigned team members, and key dates.
The primary field is a simple formula combining the project name with the month and year its production started. Just a bit of tinkering for the sake of data visibility.
(We’ll go over the equipment checkouts field & subsequent table here in a bit)
Here’s the formula behind the primary field if you’re curious what it is.
{Project Name} & "\n" &
DATETIME_FORMAT(
{Production Start},
"MMM 'YY"
)
The Team Members table is the mysterious additional table that enables this whole thing.
Now, I don’t know how you’re doing it now, but I’m going to assume that you don’t have a solid way of keeping track of which team members have checked out/checked in equipment.
If you have a way, I presume it is based on them entering their name into the record or just selecting their names using a single select field.
What’s cool about creating a table for your team is that you can do two obvious things:
This is where it all comes together.
This table contains records for every point of recorded activity for all item checkouts and check-ins.
The idea of this scares a lot of people since a new record is created for each check-in and checkout.
This is where spreadsheets die, and where databases go hard in the paint.
Airtable is built for records. It’s at the core of design and use for databases.
Do not be afraid of a lot of records.
The key is to keep our data structured, clean, and organized.
Here we have a few fields.
The first is an autogenerated number that will serve as our ID for logged activity.
The next are linked record fields for:
The primary field in the Equipment Checkouts table reflects a few conditions.
You’ll find the person that submitted the record, the type of log they created, the Unix timestamp, and if the record is for equipment checkout, there will be a portion that displays the estimated number of days for the checkout.
Here is the formula for that field:
IF(
{Submitted By},
{Submitted By},
"❗ Missing Contact"
) & " #" & {ID} & "\n" &
IF(
{Type},
{Type},
"❗ Missing Log Type"
) & "\n" &
{Unix Timestamp} & "\n" &
IF(
AND(
{Type} = "Checking Out",
{Estimated Return Date}
),
"Est. Time Out: " &
ABS(
DATETIME_DIFF(
CREATED_TIME(),
{Estimated Return Date},
'days'
)
) & " days",
IF(
AND(
{Type} = "Checking Out",
{Estimated Return Date} = 0
),
"❗ Missing Est. Return"
)
)
There are two linked record fields to the equipment table.
One is filtered to only allow links to items that are available for checkout, and the other is filtered to only display items that are checked out and awaiting return.
These are done by creating views in the Equipment table that are filtered to only display each availability status respectively.
The reason we want to build this way is because of the form configuration.
We’ll see that in the next section.
Let’s now take a look at the table.
I’ve created two associated test records to demo here.
One is a checkout and the second is the check-in where the item is returned to inventory.
The biggest challenge in this entire build is this:
How do we indicate which items are unavailable or available based on their checkout history?
My solution relies on two hidden fields in this table.
A Unix timestamp, and a general status field.
The Unix timestamp provides us with a flat number value that is sequential. This means that we can easily sequence the time of the record creation in an easy-to-evaluate way.
So… why not just use the time/date?
Because time/date values in Airtable do not translate to rollup or lookup fields in linked tables.
Here’s the formula for the Unix timestamp:
IF(
{Override Date},
VALUE(
DATETIME_FORMAT(
{Override Date}, 'X'
)
),
VALUE(
DATETIME_FORMAT(
CREATED_TIME(),
'X'
)
)
)
The sandbox base I’m using contains a hidden date/time field called Override Date. It is referenced in the formula above. This date field was created to allow me to override the record creation timestamp since I didn’t have a way to enter test data for the timestamp.
In a production environment, it would be entirely removed.
Still confused?
Let’s fix that by showing you what it allows us to do.
Hop into the Equipment table and display all the fields. You’ll notice a few new fields.
There are two rollup fields.
The first displays the highest value of Check In records.
The second one does the same for the checkout records.
Now that we have both values, we can compare them against each other.
I did this in a formula shown below:
IF(
OR(
{Equipment Status} = "Out of Commission",
{Equipment Status} = "Out for Repair"
),
"Unavailable",
IF(
{Check Out} > {Check In},
"Checked Out",
IF(
{Check In} > {Check Out},
"Checked In"
)
)
)
We get three possible values from the formula.
Unavailable, Checked Out, or Checked In.
Take a peek at the formula I pasted at the top of the post.
Within the SWITCH() function, you’ll notice that the reference is to the Status
formula field that we just created.
The SWITCH() function means the gear tag will accurately reflect the checkout history of the item.
Any item that has no history is considered new and will thus be marked as available.
There is one additional field to explain.
In the Equipment Checkouts table, there is a formula field called Completion Status
It has two outputs. Either “ :heavy_check_mark: ” or “ :x: ”.
It functions as a safety.
If for some reason, someone creates a record within Airtable instead of the form, they will need to fill out all of the required information in order for the logged checkout/in to be valid per se.
Here’s the formula:
IF(
AND(
{Submitted By},
OR(
{Checked In Gear},
{Checked Out Gear}
),
{Project},
{Type}
),
"✔",
"❌"
)
Every single record must have the name of the person associated, the gear they’re taking or turning in, the project it’s for, and if they’re checking out or turning in.
Records that do not meet this criteria are colored to quickly identify them.
Additionally, any missing information will be reflected in the record name. This is shown in the screenshot below.
There is a more in-depth way of building this so that an item cannot be checked out until the record is properly filled out. But it’s probably not necessary for the sake of this demo base.
So, for the form, we’ll house it in the equipment checkout table since we’re creating records for each piece of logged activity.
Since we’re primarily using a form to create these records, we can use the required field requirements in order to ensure that all the fields we need populated are completed.
It’s a very simple setup.
Here’s what it looks like in browser when it is first loaded.
Depending on whether you indicate that you’re checking out or checking in gear, the form will conditionally display the correct field.
In this case, if you select that you’re checking out gear, then the linked field for the available items will appear and vice versa.
Now, remember the part where I mentioned that having the barcode and the product name made it easier to search?
If you plan to use the barcode scanner as a method to search for items, this will come in handy.
Since the product name and barcode are in the record name, you can do a partial search on any of the information in order to pull that record.
Know the product name? Dope! Type it right in!
Have the item and just want to scan it? Dope! Scan the barcode ID and the product will instantly pull up.
Looking at the screenshot below, if you took the My Favorite Microphone item and scanned it with your barcode scanner, it would return the item since the barcode is right there in the record name.
There’s not a solution for making the linked records appear in the UI like the multi-select field, but the combo of the barcode and the name query should help alleviate usability issues.
You start your day and need to check out two pieces of equipment for a project that you’re assigned to.
So, you pop open Airtable and see that the two items you need are available in the inventory.
You head into the inventory room and grab what you need. You can either…
After you’re finished with your gear, you head back to inventory, pop open the form, and scan/type in what you’re turning in.
Once you submit the form, your team will be able to see that the item is now available.
Jun 23, 2023 10:35 AM
@Ben_Young1 - I know I'm not the person who posted the original question here, but I came across this thread when looking for a way to use Airtable to create a database for an inventory of checkout equipment that I manage, and I LOVE the template that you've built. I'm trying to figure out some of the backend, so that I can better understand how this all works, and had two questions that I was hoping you might be able to shed some light on:
I hope it's all right that I add these questions so far after you created this original post. Regardless, this is an amazing database!
Jun 23, 2023 11:35 AM
Hey @Eliz_Comm!
I'm happy that this post has been a help to you!
Wild to think that it's over a year old now.
I'm going to do a few things for you.
First, I'm going to refresh, revise, and polish a couple things in that base, then I'm going to write out some specific information about how everything works regarding the questions you posted.
I haven't opened this base in over eleven months, so I'll spin it back up and get you more information!
I'll try and have that back to you later today.
If I happen to let this slide off my radar, feel free to DM me to catch my attention!
I don't post at much as I used to, but I still actively read the forums and have it open for most of my day so I'll see if you ping me pretty quickly.