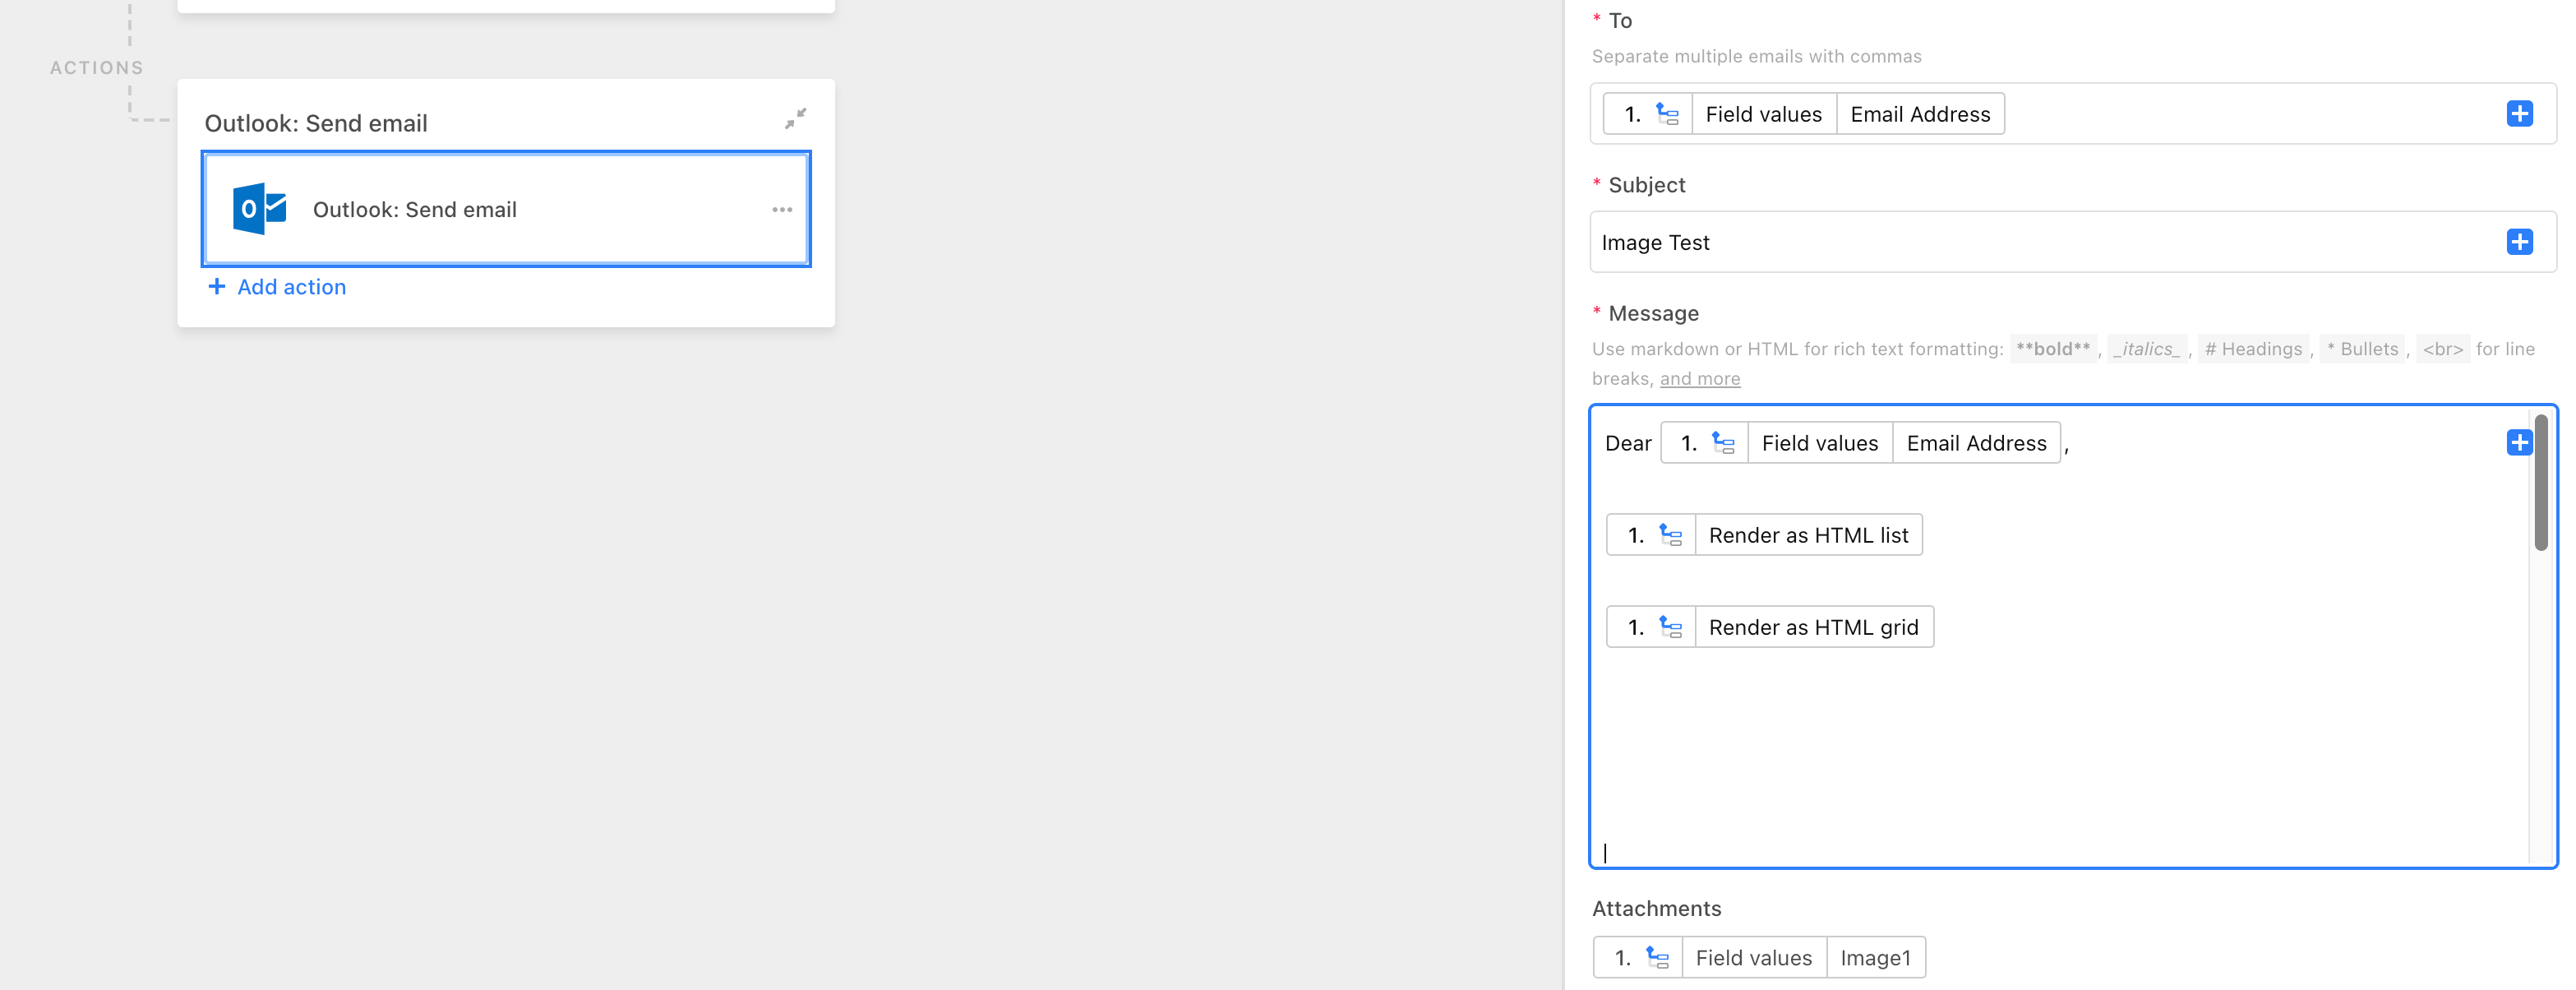

I am trying to send an automated message with outlook.
I want to avoid using a hosted image from a URL, and have an inline image in the mail.
This help page shows this is possible by inserting a “render at html” grid or a list, but I can’t make it work: https://support.airtable.com/hc/en-us/articles/360051028394#:~:text=How%20can%20I,your%20HTML%20tags
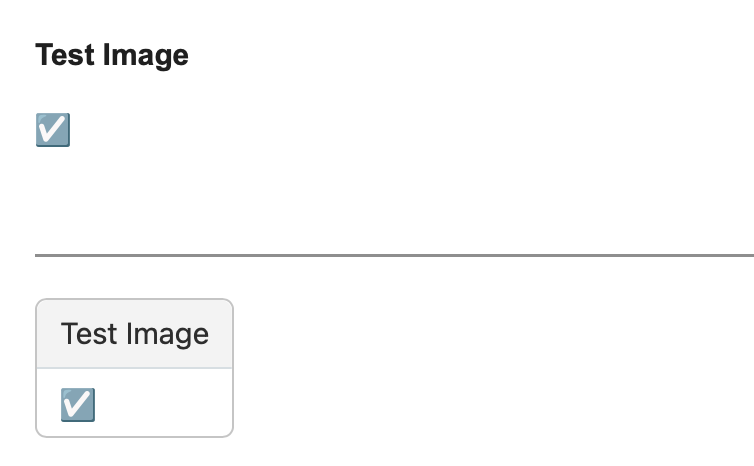
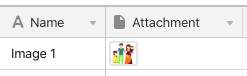
Instead of the image appearing, I get either a ticked checkbox or the name of the field.
Can anyone enlighten me what is going wrong?