A question arose recently that’s come up a few times in the past: is it possible to give form users the ability to either pick an item from a predefined list or add their own “other” option, and have manually-added options actually appear in the list for later form users? For most of Airtable’s existence so far, this wasn’t possible (at least not without delving into the API, and even then I’m not completely sure that was doable). However, it can be done using Airtable’s automation feature. Here are two methods you can use:
Method 1: Single Select Field
Most of the time this question comes up, the user is probably thinking of using a single select field. While this will work, it comes with a couple caveats that actually make the second method preferable IMO. That said, some of the details that I share here will also be used in the second method, so I still recommend reading through this one.
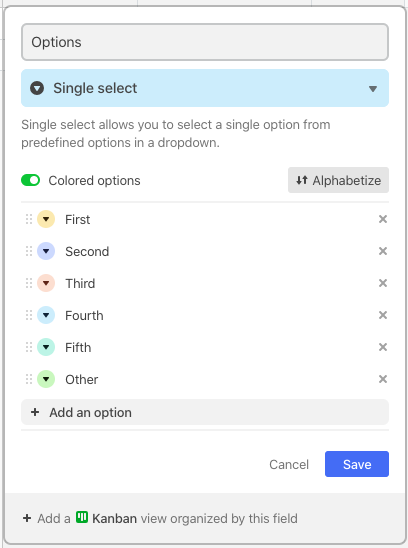
First, define your single select options as you wish, with an option named something like “Other” as the last entry.
Add a single line text field named something like “Other option”.
In your form setup, put this “Other option” field after your single select field, and make it conditional, only displaying when the user picks “Other” from the preceding list.

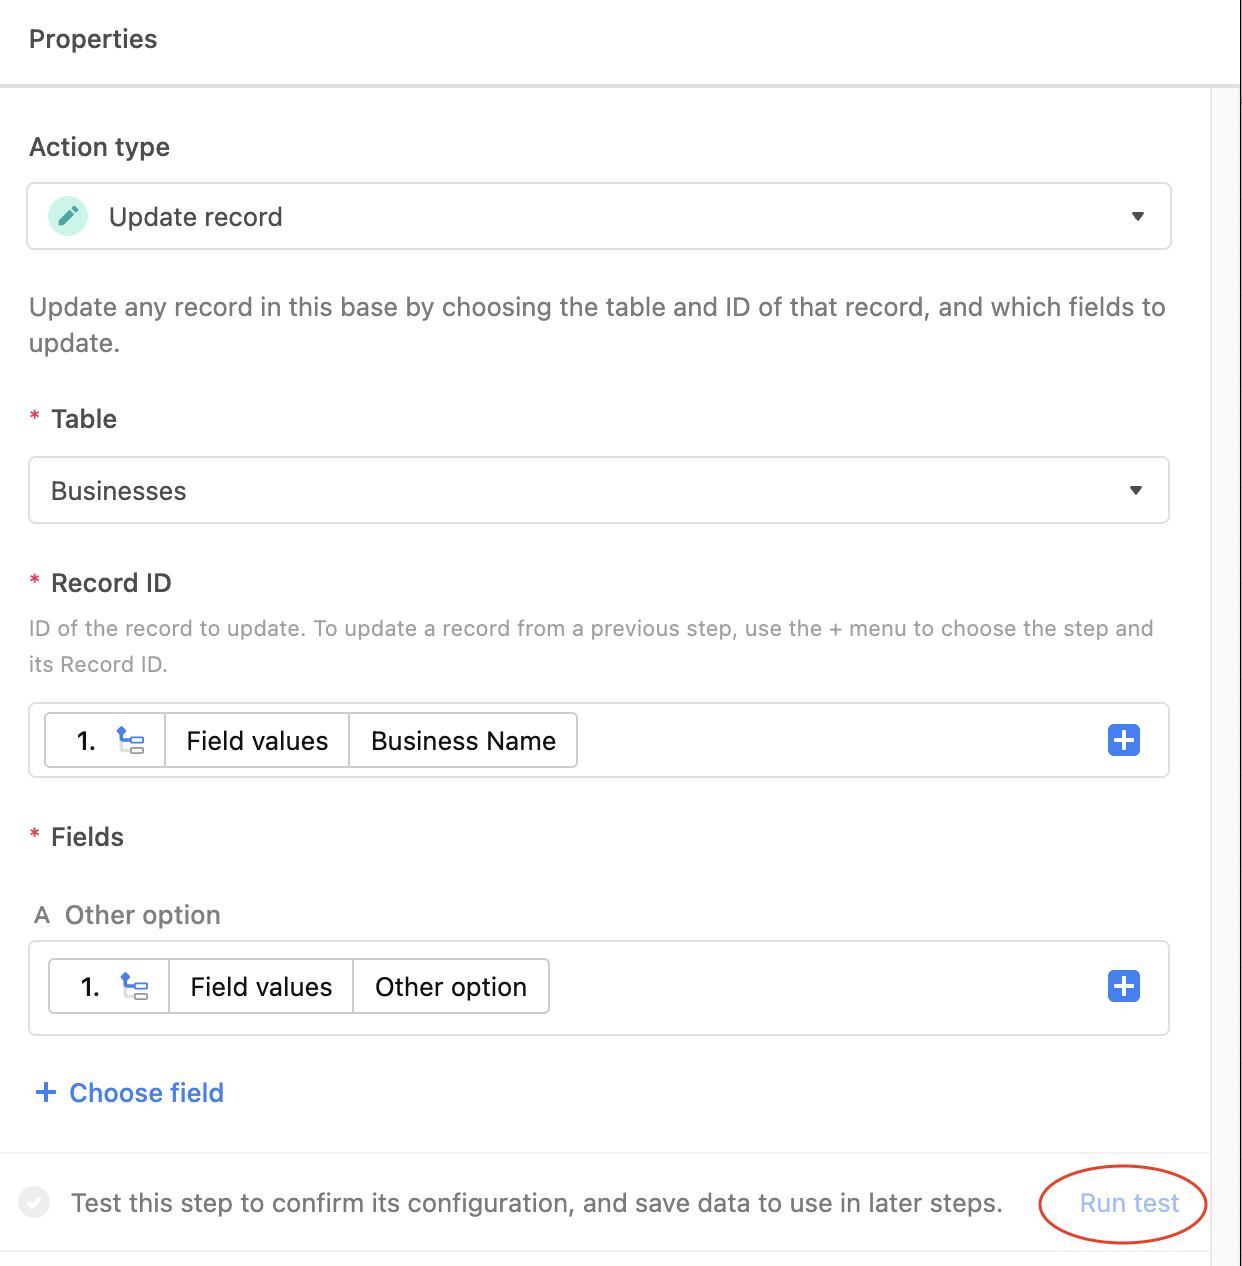
Create a new automation using the “When record matches conditions” trigger, with the condition being that {Other option} is not empty. Add an “Update record” action, choosing the same record that triggered the automation, and setting the value of your single select field to the value added by the user in the {Other option} field.
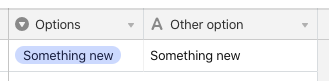
Turn on the automation, and it’s done. When a user picks “Other” from the single select field, the {Other Option} field will become visible, allowing them to enter their own choice.
When the record saves, the automation will add that new item to the single select.
So what about those caveats?
All new entries will appear after the “Other” entry in the list. The only way to change this order is to manually move “Other” back to the bottom of the list on a regular basis. Kinda cumbersome.
Every manual entry will automatically add to the original list. If a form user decides to be malicious, their new entry will appear for others to see until it’s manually removed.
That’s why I prefer…
Method 2: Linked Records
The setup is similar to what’s above, but with a few changes.
Instead of creating a single select field, make a new table to contain your list options (I’ll call mine eOptions] for consistency), including an “Other” option. To ensure that “Other” remains at the bottom of the list, add an {Order} formula field using this formula:
IF(Name = "Other", 9999, 0)
Then sort the view by this {Order} field.
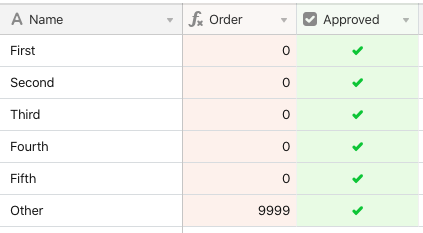
Next add an “Approved” checkbox field and check this box for all of your initial options. Change the view name to “Approved”, and add a filter to only show approved items.
Now the view should look something like this:
Duplicate this view and name the new view “Unapproved.” Modify the visible fields to only show the {Approved} checkbox field. Change the filter to only show records where {Approved} is not checked. For now, it’ll be an empty view, which is fine.
Back in your main table, add an “Options” field (or whatever name you wish to use) and make it a link to your new pOptions] table, only allowing individual records to be selected.
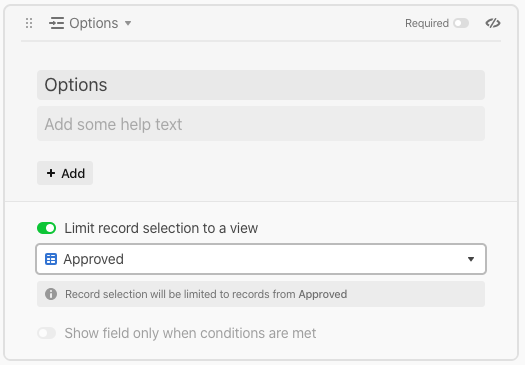
In the form setup, set {Options} to only allow selection of records from the “Approved” view.
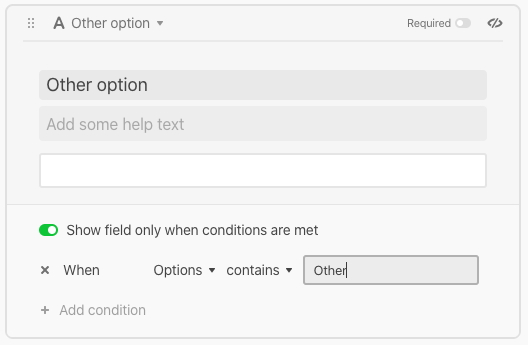
As with the first method, set the “Other option” field to be conditional, only appearing when {Options} contains “Other”.
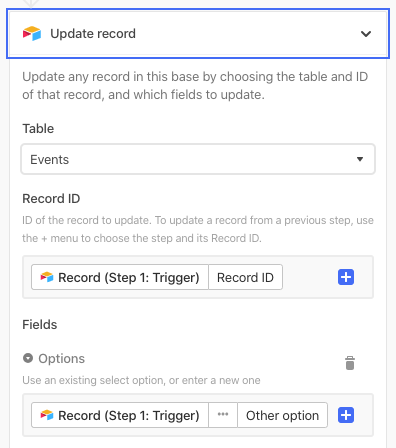
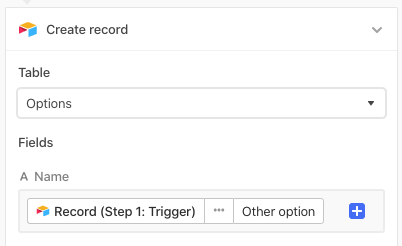
For the automation, begin with the same trigger as in the sample above. The first action in this setup, though, will be to create a new record to the eOptions] table, with the record’s primary field being the value entered by the user into “Other option”:
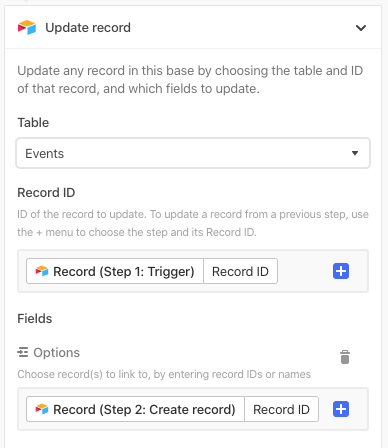
Now add an “Update record” action. In this case, add a link to the newly-created record into the {Options} link field.
Save and activate the automation, and you’re all set.
There are several benefits to this method over the first one…
- Any manually-created “Other” entries must be approved before they will appear for other form users. You can easily review and approve new entries in the “Unapproved” view on the
wOptions]table. (You could, of course, omit the approval features and just let all new entries auto-add like the above scenario, but I personally prefer to use the approval options.) - The “Other” entry will always remain at the bottom of the list thanks to the formula field that’s driving the view’s sort.
- Because you’re using linked records instead of a single select field, you can add a “Count” field to the
iOptions]table to count the linked records tied to each option, allowing you can see how many times each option has been chosen.
I hope that these tips are helpful!